- From Nullbits
I really want to love the Snap. I really want to tell you to go buy the Snap if you want to build a 75% keyboard. But I can’t.
TL;DR: if you want a split 75% keyboard and you aren’t obsessed with the exposed diode aesthetic, go get a Sinc from Keebio
The Snap has some major problems that make it a “do not buy”.
First, you need to buy screws. At time of writing, the screws that come in the kit are too long, can’t screw in all the way, and work themselves free in a day or less. If you follow the instructions and solder your switches, the screws up top are almost impossible to replace after installation. The screws I ended up using were these M2x3mm screws from uxcell via Amazon. They need an itty bitty screwdriver but work just fine on the Snap. Nullbits has been informed of the screw problem and hopefully they’ll get it fixed. However, they are not offering replacements for folks who already bought their kits.
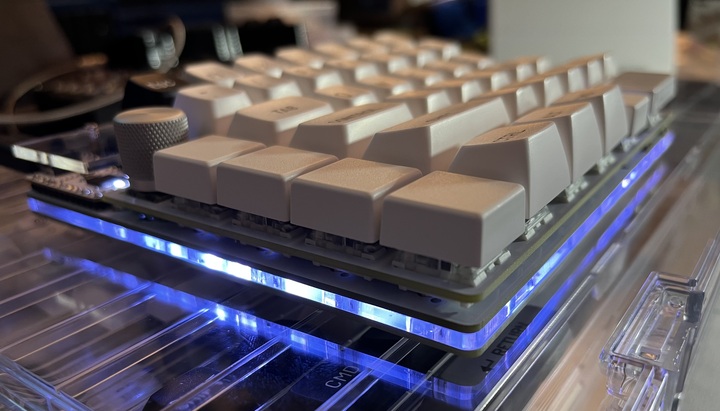
Second, the pogo plugs and magnets that make this “snap” are a gimmick that doesn’t really work at all.
By default, the instructions have you insert the magnets in special spots in the acrylic mid-layer and cover them with a sticker. This, in theory, keeps the magnets in place and protects them. As you might imagine, the stickers don’t last long and the pull between the magnets is strong enough to extract the magnets anyway. They have to be glued to work properly. And bizarrely, the kit doesn’t contain enough magnets to fill all the spots in the mid-layer that are clearly intended for magnets.
The pogo plugs are easy enough to solder on but they’re otherwise a mess. They are intended to allow one to snap the halves together and operate like a not-split keyboard, without a TRRS cable connecting the halves. There’s nothing to support the middle, though. So if you try and move the keyboard around, chances are the halves will come apart. At this point, the firmware typically freaks out. I’m not sure what’s going on here because QMK normally does just fine if you unplug half a split. The Snap, however, in my brief attempts, needs to be unplugged when the halves come apart. This isn’t a problem if you put the halves together using the TRRS cable but at that point why even have the pogo plugs.
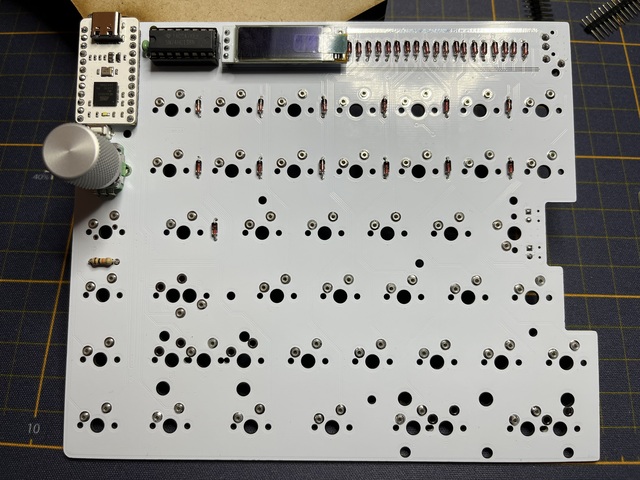
Third, despite having spots for an OLED on both halves of the board, only one can be used at any given time. This is a QMK behavior and there’s nothing nullbits can do about it but the docs, at time of writing, don’t explain this at all.
Fourth, at time of writing, the firmware is still not in mainline QMK and as such it is not available in the QMK configurator. nullbits intends you to use VIA but VIA is simply not capable of many advanced features. Yes, you can git clone the firmware into your local QMK checkout but the lack of configurator support breaks the easiest way of handling keymaps. Specifically, this doesn’t work with my userspace so, even if I wanted to put the Snap into daily rotation, I couldn’t really until configurator support is a thing.
Fifth, the instructions really assume you’re soldering everything down. The switch holes take Mil-Max sockets well but if one is just following the standard instructions, everything is permanently affixed. Given that Nullbits really targets these products at newbies, I am of the opinion that focusing on permanent installation does them a great disservice.
The last bit that drives me nuts with the Snap is a personal item and probably reflects more on my growth and preference change since I built that first Nibble in 2021. Nullbits has an aesthetic of exposed electronics and the owner of Nullbits is an electronics person. These combined lead to the Snap having way more bits to solder than any other board.
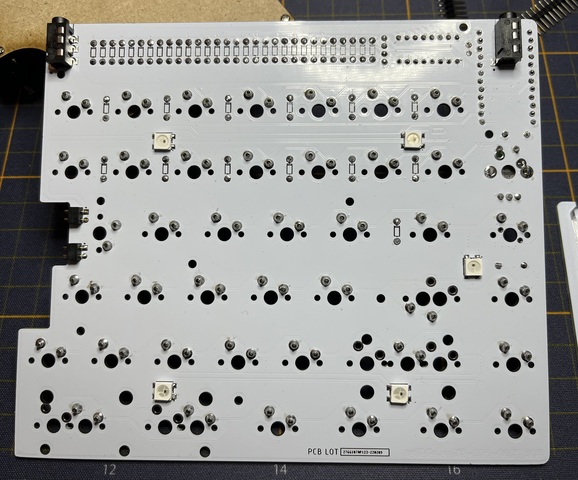
The aesthetic of the exposed glass diodes means there is no option for SMD diodes and I have grown to hate through-hole diodes. They take forever to install and solder and they are prone to getting misaligned or otherwise ugly. The through-holes on the Snap are large so it’s really easy to get too much solder in the hole and have it pour out the other side. And the other side is the front of the keyboard, visible to everyone for all of time. A lot of folks like this sort of look but it’s just not for me.
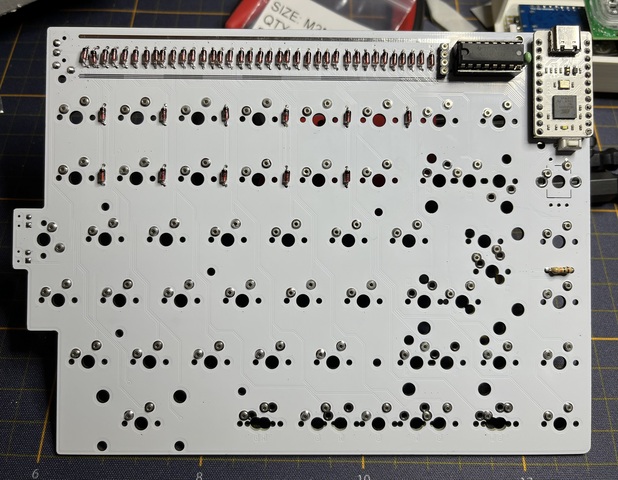
Nullbits chose to use integrated circuits to expand the keyboard matrix. Those are the big black rectangles on the top. They are directional and fiddly as hell to get in. The pins must be bent inward to fit and the pins are very thin and prone to breaking. They are also highly directional.
All this combines to make the Nullbits Snap a project that takes even me multiple days to get through with a high probability of error.
Like I said at the start, I really wanted to come out of this build raving about another Nullbits product. I like them a lot and the community they foster. But this is simply not a product I suggest anyone purchase.