sungo.io
About - RSS - CodeBarrel Jack Junction v2
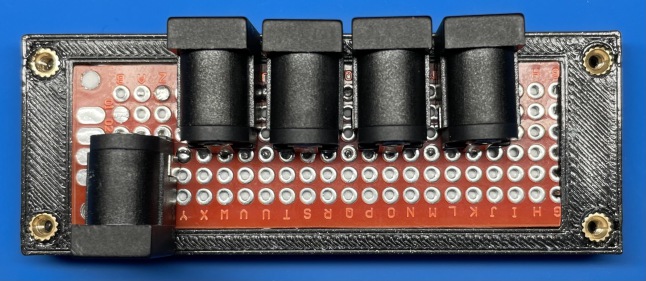
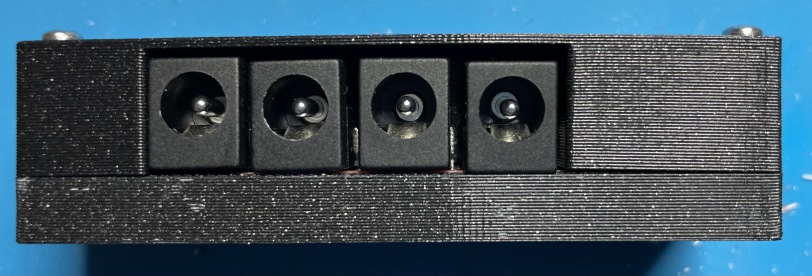
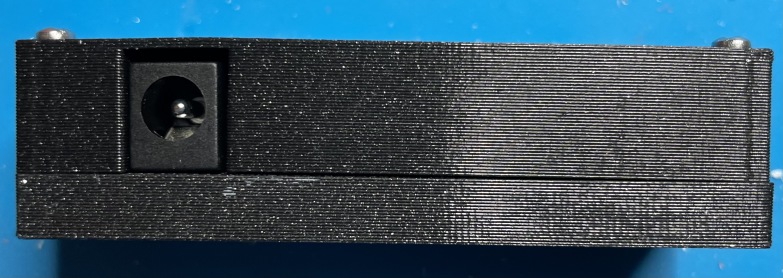
This is not my finest work. It functions though and that’s what matters at the moment. The project is to create a junction box that allows a barrel plug power supply to distribute power to four other barrel jacks. The first version of this idea, which I’ve not published yet, is big and bulky. I decided to shrink it.
Now, truth be told, this is a more fragile build and I don’t recommend this build if one is going to be removing the jacks a lot. The plugs themselves are held in place by two solder joints and the case itself (which is not a perfect fit). The solder joints will eventually give way. I plan to plug in some cables and leave this alone forever so the fragility isn’t a big concern for me.
For assembly, one needs (links are to Amazon and affiliate-free):
- Breadboard friendly barrel jacks
- Perfboard: 20cm wide, at least 60cm long. This will need to be cut down to 60cm. I scored mine with a knife and manually cracked it
- Solid core wire
- Heat set inserts: M2, 3mm wide, 3.2mm deep (I like the ones I linked to because they have a guide pilot. Make sure you get them right-side up)
- Screws: M2 x 16mm
- Sugru (optional)
To install:
-
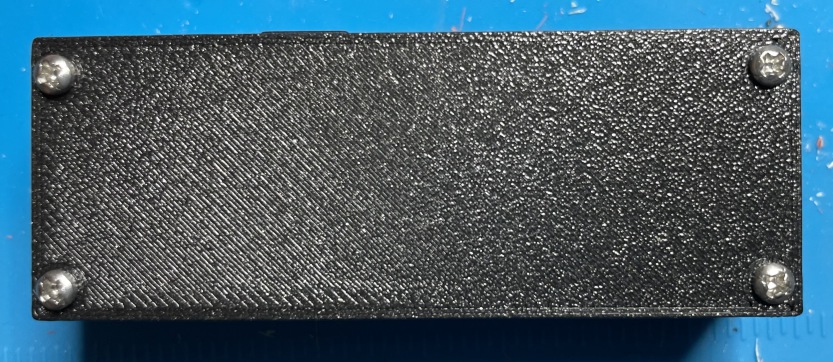
Print the bottom and install the heat set inserts. (I recommend this first because it’s super easy to fuck up installing heat set inserts and you might need to reprint once or twice)
-
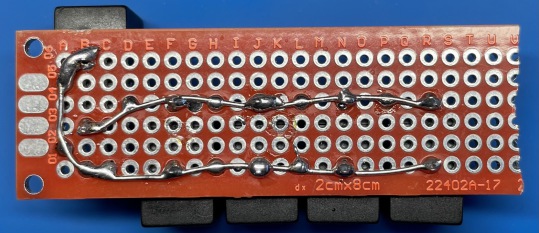
As one can see from the photos, I soldered the relevant pins together using solid core wire.
-
I then filled the bottom of the tray with Sugru. This is totally optional but I did it to provide some protection to the wires and some support to the perfboard once it’s installed.
-
Install the main board. This is supposed to be a tight fit. Mine needed just a bit of a push to snap in place.
-
Print the top and screw it down with the 16mm screws. The top is a bit thin so it might try to buckle a bit. If so, get the screws started but don’t screw them tight. On one end, position it square manually and tight the screws. Repeat on the other side, putting a bit of pressure on the center.
I printed mine with Prusament Galaxy Black PETG at 0.3mm layer height. It’s all dealer’s choice here as this is not a part that will be under strain. I put extra perimeters on the bottom around the holes for the inserts to provide extra plastic to melt around the inserts.
Built in Tinkercad
Download
License
This license supercedes the general site-wide license.
This content is copyright © sungo (https://sungo.io) and licensed under the following terms.
Creative Commons Attribution: This license allows reusers to distribute, remix, adapt, and build upon the material in any medium or format, so long as attribution is given to the creator. The license allows for commercial use.STLs
Images